Perhaps you are a beginner rider, you just booked a multi-day horse riding holiday or you’re an experienced rider that wants to improve your fitness for your favorite sport. But chances are you clicked on this article because you would like to know how you can physically prepare for, or improve your horse riding.
So how can you get in shape for horse riding? Horse riding is a physically and mentally demanding activity and when training for it you should focus on activities that improve your balance and flexibility, your cardio level, core, and leg strength as well as mental focus. These elements in combination will help your body and mind prepare for the saddle and over time help you become a better rider.
This article will focus on the physical aspects and help you understand which parts of the body to focus on when working out and why they are important for horse riding.
Also check out the targeted program for horse riders at the end of the article, where we help you tailor each exercise to your current fitness level and goals.
Work out With Me on YouTube!
Does Horse Riding Make You Fit?
But why should I train you ask? Won’t the mere fact of riding get me in better shape and eventually make me a good rider? Yes, it will to an extent, but if you have a good fitness level and solid balance, you will get there much faster.
All riders, no matter what level they are at, can benefit from having a workout regime out of the saddle, which is why most competitive equestrians that compete at the top levels, follow a structured fitness routine targeting the key areas that help them perform the best.
In this article, however, we will focus on how new or less experienced riders can build up their base strength and stamina for horse riding.
Balance
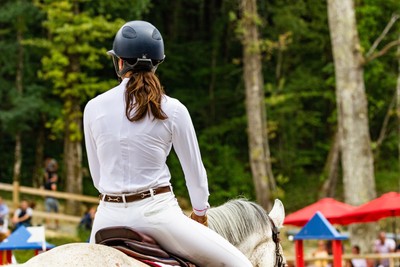
Staying on a horse in motion requires many things, chief among them – balance. Although the saddle and stirrups help stabilize a rider in the seat, good balance is key in order to follow the movements of the horse and work together in a harmonious way. A balanced rider should have a straight line from the shoulders, through the hips to the heels.
An off-balance rider will often end up leaning forward or too much to one side and will fall behind or out of the rhythm of the horse. Being off-balance will also influence the signals the rider gives to the horse, confusing him as to what the rider really wants. Depending on the horse’s education, age and temperament this can cause a variety of reactions such as speeding up or down, drifting or turning in the direction the rider is leaning, or even get agitated and ultimately trying to throw the rider off, ridding itself of the ‘irritation’ on its back.
A balanced rider has an equal distribution of weight through the sit bones, keeps the back straight (but not tense) with a neutral spine and all joints supple. The lower back should remain straight and be neither rounded nor hollow. The rider’s center of balance should always be in tune with that of the horse. When the horse moves, its center of balance shifts and the rider needs to constantly stay in sync with it. This requires a lot of strength and balance, which is why targeted training outside of the arena is so important to progress as a rider.
Exercises incorporating balance and stabilization, are excellent to include in an equestrian fitness routine. Anything the moves part of your body away from the balance center is great. Some excellent ones that we love (or let’s admit it’s more of a love-hate relationship) are squats, lunges, thigh side pulses, and plank variations.
Strength
For equestrians, the primary goal is to build functional strength and endurance that will allow you to improve your technique and stability in the seat. There are certain areas of the body that are more engaged than others during horse riding, and those are the ones we will focus on here. However, everything in the body is connected, so maintaining a holistic picture is key, even though you may have a specific goal in mind for your exercise regime.
Core
As soon as your butt hits the saddle (or frankly even before that, but I digress), your core will be engaged. Your abdominal and lower back muscles need to be strong enough to maintain your body stable and still, while the horse is in motion. This is what will keep you upright in the saddle and helps you stay balanced while the horse is in motion, and is an essential aid in driving forward momentum with the seat.
Personally, I can thank an extremely lazy pony and an incredibly motivated trainer for the solid foundation of my own core muscles. They were first developed during a summer when she removed the stirrups from my saddle and had me work the pony forward using the seat only.
I was in so.much.pain.
But, by the end of that summer, my family commented on my newly formed ‘six-pack’ and the pony’s energy shifted significantly from lazing to forward-thinking! Now, that’s not necessarily the recommended method but illustrates the point that your core strength matters.
Legs
Leg strength, and inner thigh strength, in particular, is another important muscle group that helps a rider stay deep and balanced in the seat. The legs are also important aids for signaling gait changes to the horse by applying pressure to its sides in various ways.
Although it may look like a rider’s legs are simply resting in the stirrups, nothing could be farther from the truth. A constant squeeze must be maintained through the thighs and adapted throughout the ride, so a riding class can frankly be just as beneficial as the dreaded ‘leg day’ at the gym.
Cardio
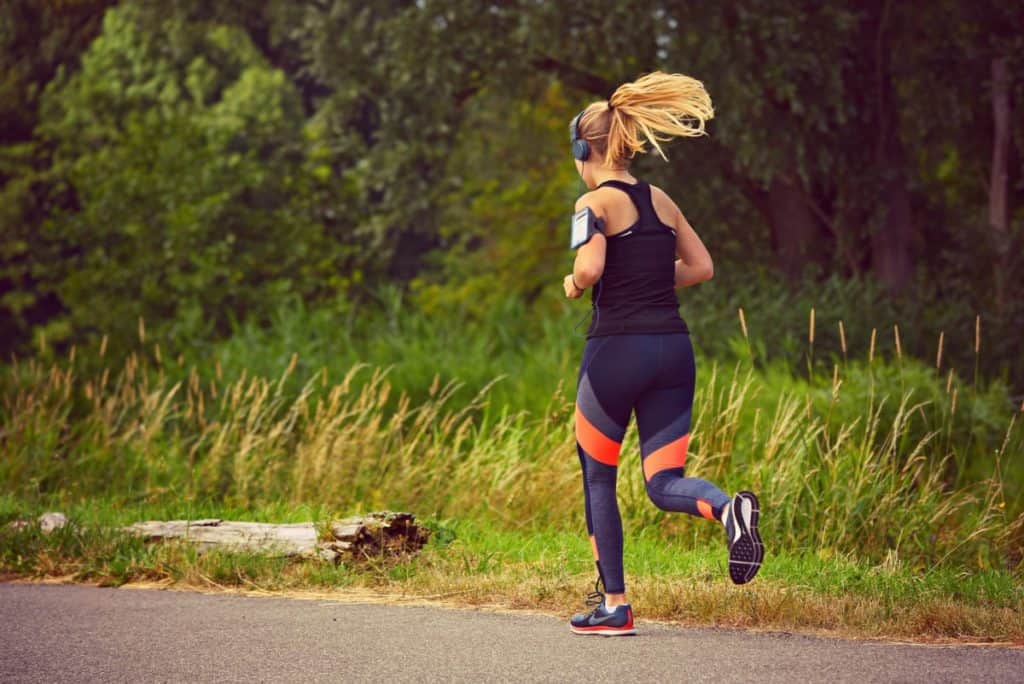
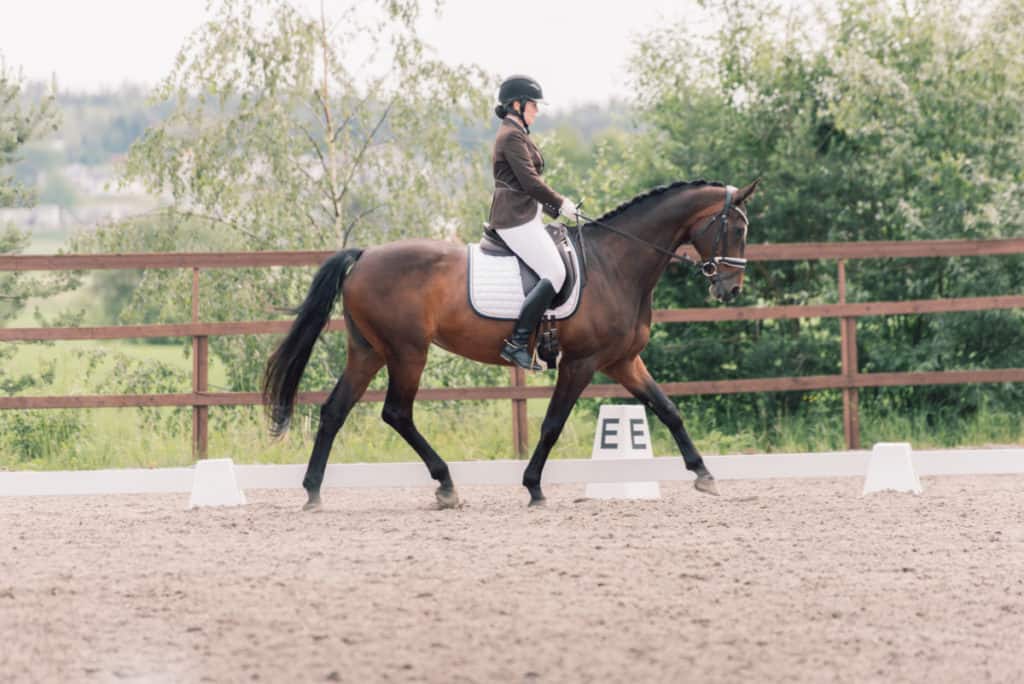
You do not need to be a marathon runner to be a competent horse rider, but sitting the trot and cantering is physically demanding and having a decent cardio level is hugely helpful in these faster gaits. A good level of cardio will allow you to endure challenging riding lessons that you probably paid good money for, ensuring you get the most out of your investment.
I recently went on a 3-hour trail ride while on vacation after almost a year of not having been in the saddle (and let’s face it – also neglecting my fitness routine quite a bit) and it was BRUTAL. Fun, but brutal. My face was tomato red after the long canters on the beach on a young and energetic Arabian horse and I struggled to keep myself going towards the end of the ride. So, over the next few weeks, I will be following our own program to work on that strength and cardio.
When it comes to cardio, our philosophy is – do what you enjoy. If it’s running, do that. If it’s swimming, go for it. If it’s dancing, shake that booty! What matters is that you get the heart pumping and the sweat running for at least 20-30 minutes a few times per week.
Flexibility

Flexibility refers to the range of motion around a joint, and good flexibility helps riders to relax in the seat which in turn improves both balance and posture.
The number one area where mobility and flexibility are key for horse riders is unsurprisingly the hips. A rider with good hip flexibility will be able to lengthen her legs and thus achieve a deeper seat. Overall flexibility will also allow the rider to move more comfortably with the horse and help prevent injuries.
Some excellent flexibility stretches to do after horse riding are kneeling hip and quad stretch, calf and Achilles stretch, inner thigh stretch and the swan pose.
Exercise Program for Horse Riders
I don’t know about you, but I prefer to make my workouts as short and sweet, choosing exercises that check as many boxes as possible, and that is exactly the kind of program we have put together for you.
All the exercises have several difficulty variations so it can be adapted to any fitness level, and you can progress with the same program by leveling up through the easy/medium/hard levels as your condition improves. The program requires zero equipment so you can do this anytime, anywhere!
This program is targeted to strengthen your legs and core. Try completing 3 rounds of this program 2-3 times per week in addition to your preferred cardio and stretching routine and if you stick with it for a while, you should notice a change in your riding abilities and stamina.
Doing regular exercise is such a great way to feel better, boost your energy and take care of your body and health over the long term. If not for the riding, do it for yourself – you deserve it!
1. Squats
Base position
Place your feet shoulder-width apart or slightly wider. Extend your hands straight out in front of you, bend at the elbows or clasp your fingers together – whatever feels most natural. Keep your back straight and your core muscles engaged by sucking the belly button in throughout the exercise. Remember to breathe.
The Exercise

Level 1 & 2 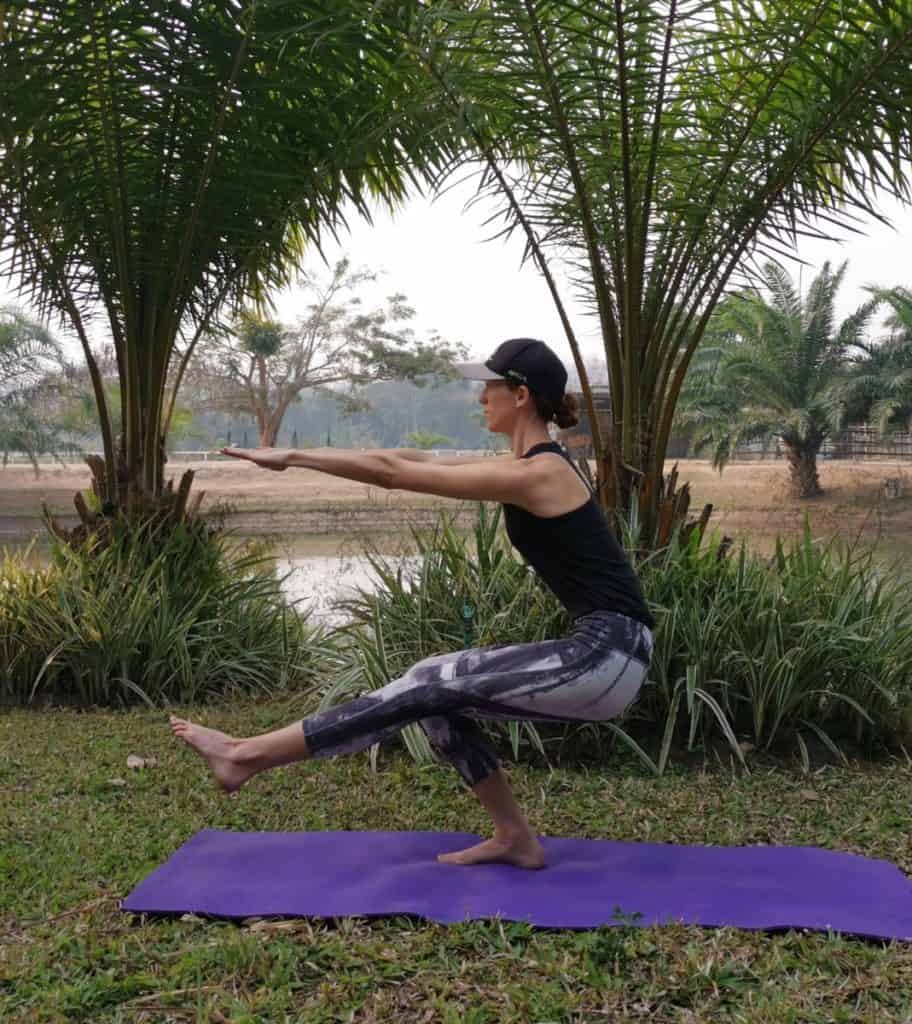
Level 3
Sit down as if you are about to sit into an imaginary chair. Look straight ahead as your upper body angles slightly forward. Make sure your back does not round as your bum gets closer to the ground.
Lower down until your thighs are parallel to the floor and your legs are at a 90-degree angle, with your knees and toes pointing straight forward or just slightly outward. Make sure to always be in control of the movement.
Place your weight into your heels. If you are able to lift your toes slightly off the ground when you reach the 90-degree angle, you have the correct weight placement.
Push through your heels and squeeze your glutes as you come back up to the starting position. Repeat.
Difficulty Levels
#1 – Regular squats as described above (12 repetitions)
#2 – Regular squats with 3 pulses between the 45- and 90-degree angles (10 repetitions)
#3 – One-legged squats as described above, but with one leg stretched out straight in front of you (8 repetitions on each leg)
2. Lunges
Base position
Stand upright with your feet next to each other and place your hands on your hips. Keep your back straight and your core muscles engaged by sucking the belly button inwards throughout the exercise.
The Exercise
Level 1 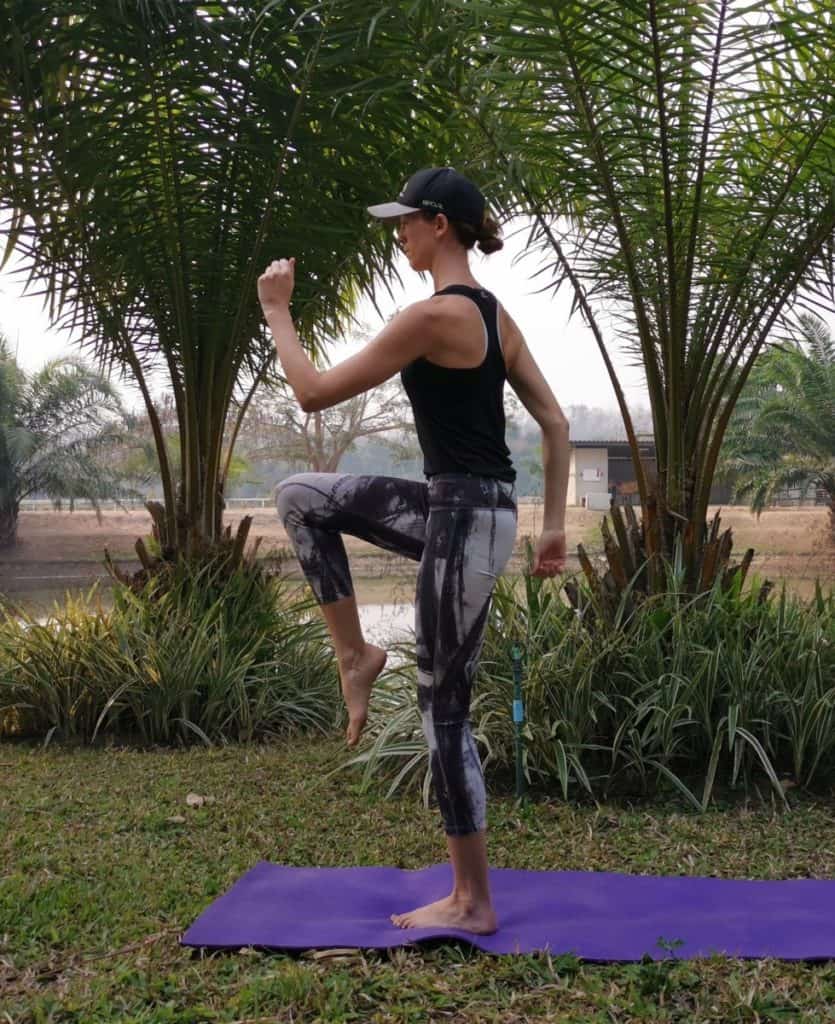
Level 2 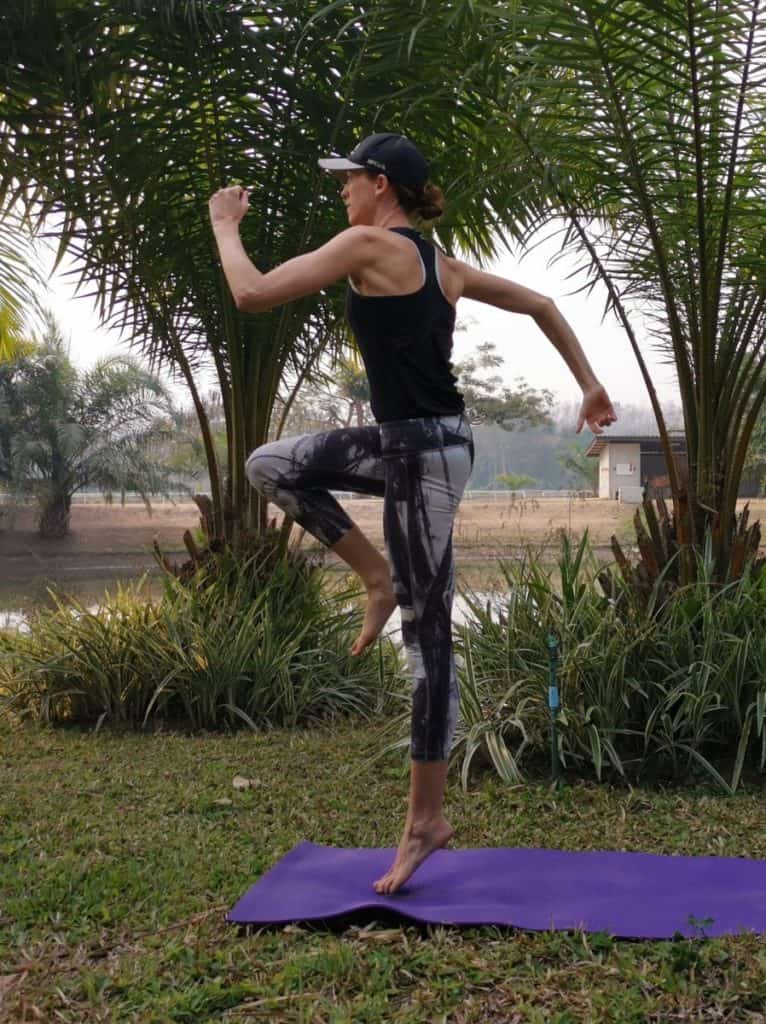
Level 3
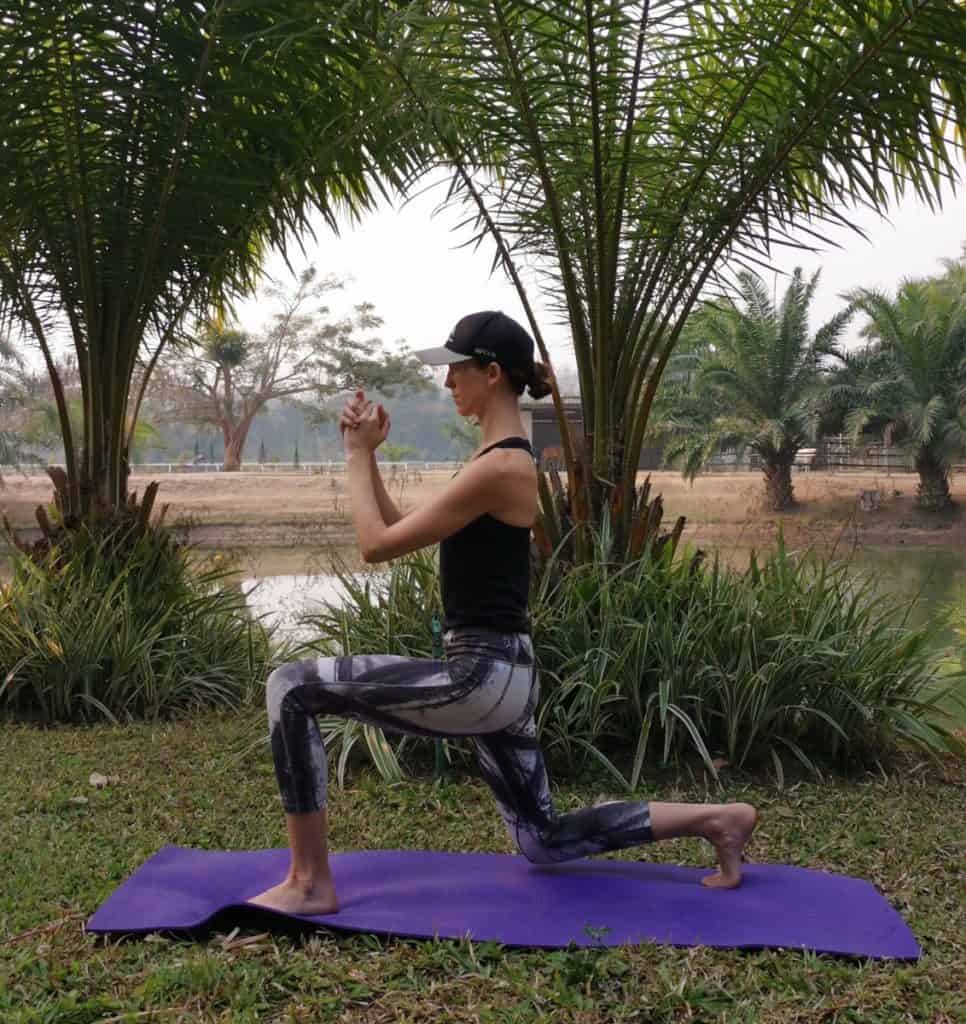
Take a large step backward with your right foot. Lower your hips so that your front thigh is parallel to the ground with the knee of your left leg positioned directly over your ankle. Your right knee should be bent at a 90-degree angle and pointing toward the floor with your heel lifted.
Keep your back raised and straight throughout the movement and your shoulders back (‘proud posture’).
Press your left heel into the ground and bring the right leg forward to the base position in one fluid movement. Try to avoid using momentum. Alternate legs or switch legs after you complete all repetitions on one side.
If you are including a knee drive (and jump), instead of placing your right leg back into the base position, bring the knee up towards your chest.
Difficulty Levels
#1 – Regular lunges as described above (12 repetitions per leg)
#2 – Regular lunges with a knee drive (10 repetitions per leg)
#3 – Regular lunges with a knee drive and a jump (8 repetitions on each leg)
3. Burpees
Base position
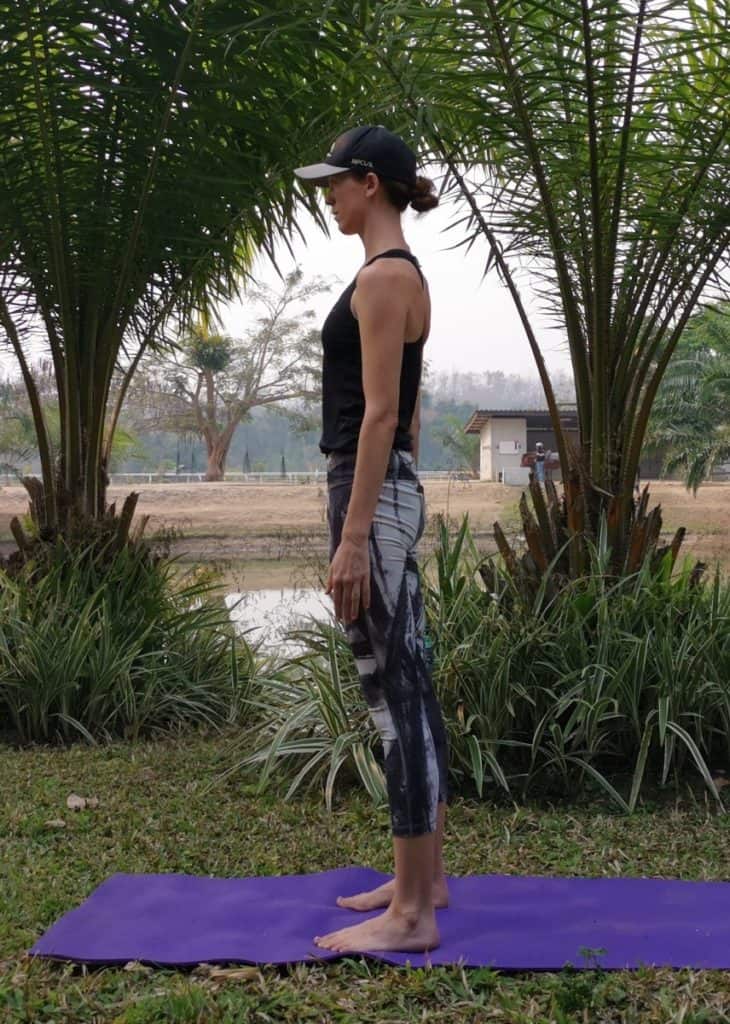
Begin in a standing position with both feet next to each other. Keep your back straight and your core muscles engaged by sucking the belly button inwards throughout the exercise.
The Exercise
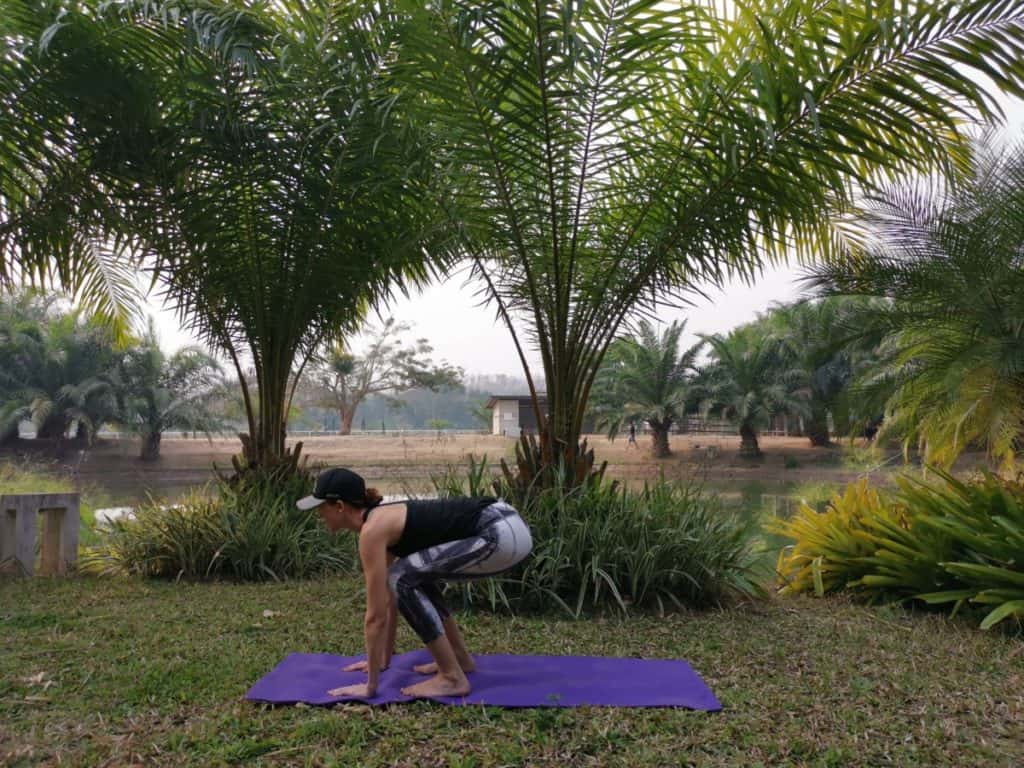
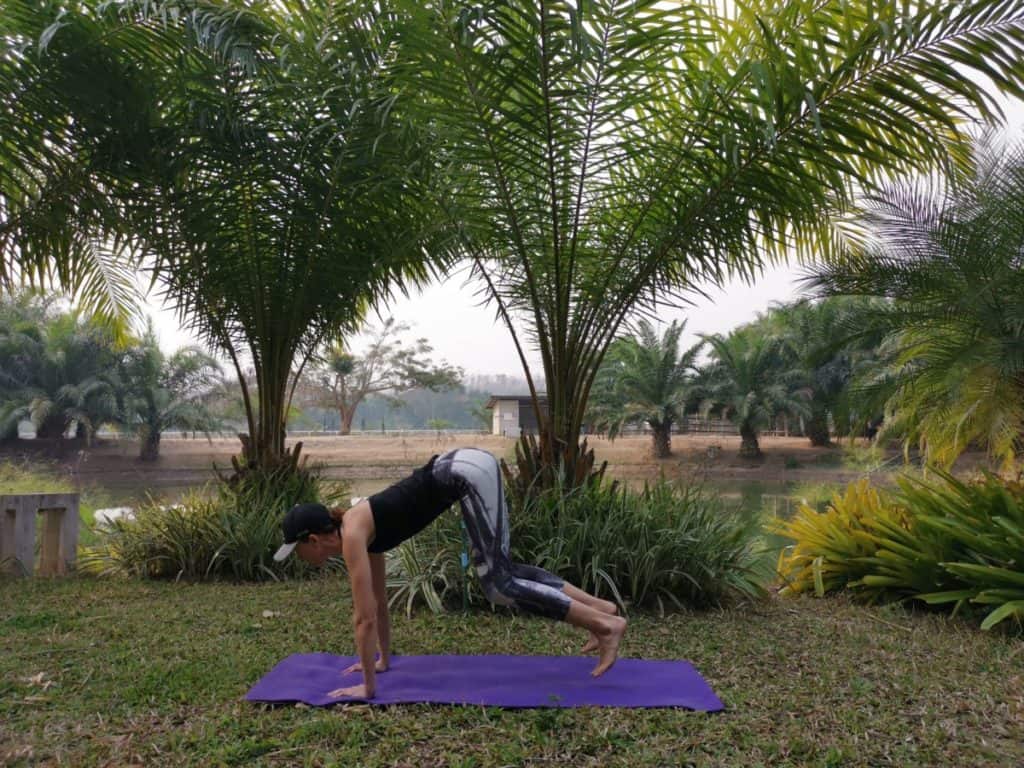

Move into a squat position and place the palms of your hands on the ground in front of your feet. Move your feet back into a hand plank position either by moving them one at a time (easy) or together doing a small skip (harder).
Keep your arms extended, but do not overextend the elbows. Immediately return your feet into the initial squat position (either by walking or skipping) keeping your hands on the ground. Then stand up from the squat position. Add in a jump here for a harder workout.
Make sure to keep your core engaged in order to protect your back throughout this exercise.
Difficulty Levels
#1 – Walking burpees as described above without jump (10 repetitions)
#2 – Skipping burpees without jump (10 repetitions)
#3 – Full burpees with skip and jump (10 repetitions)
4. Glute bridge
Base position
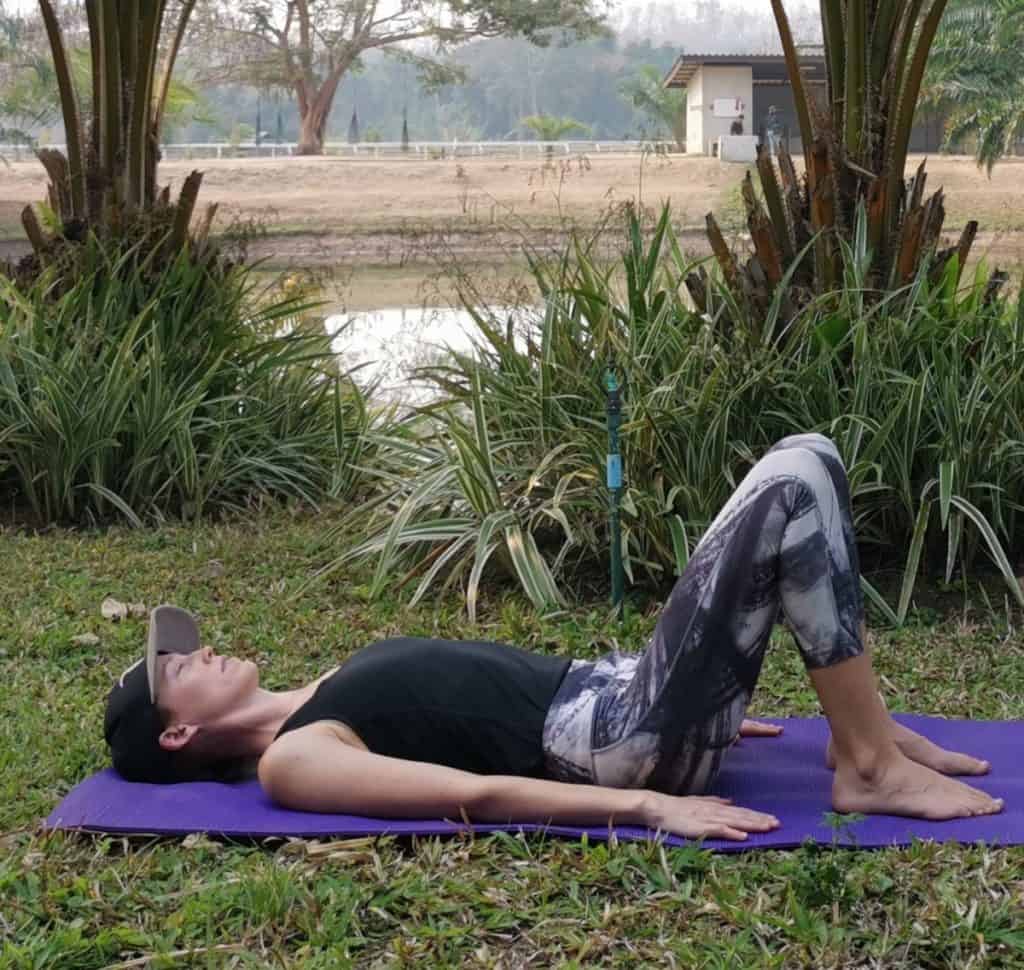
Lie on your back on the floor with the knees bent and feet flat on the ground. Your arms should rest along your side with the palms facing down.
The Exercise
Level 1 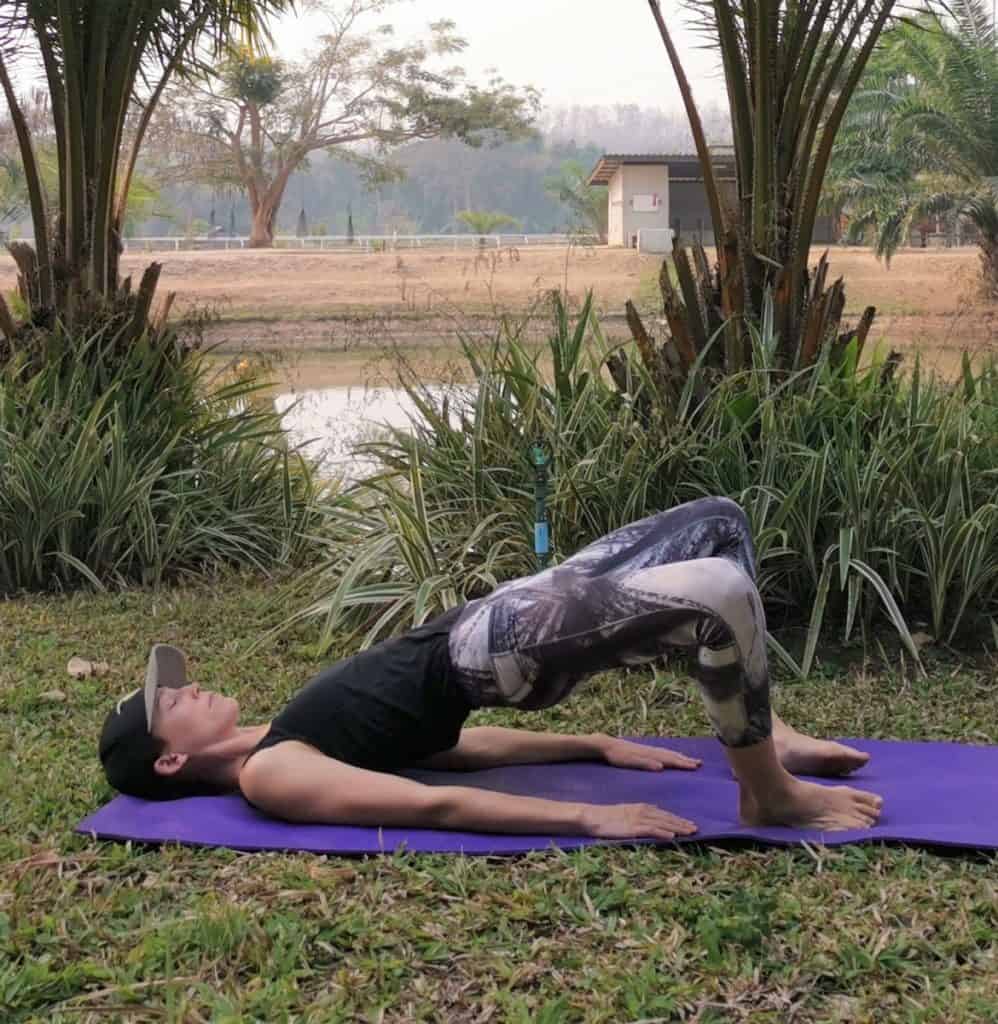
Level 2 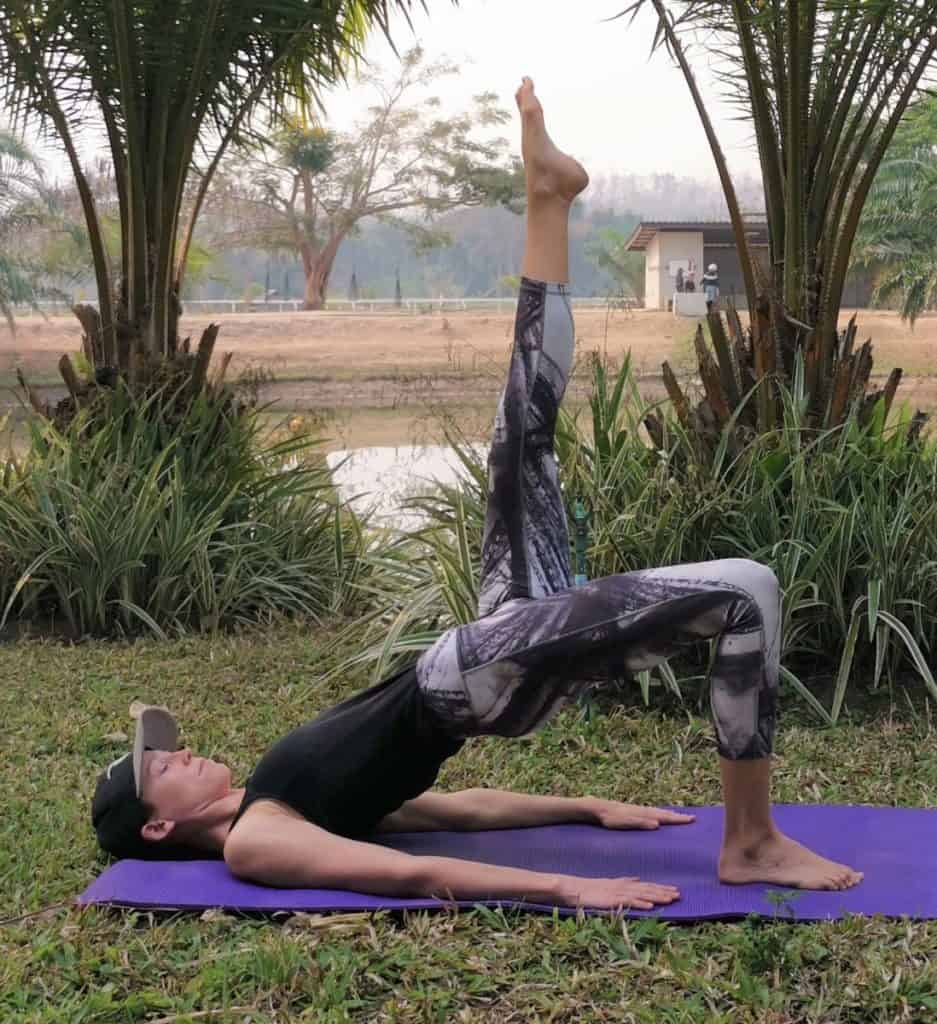
Level 3
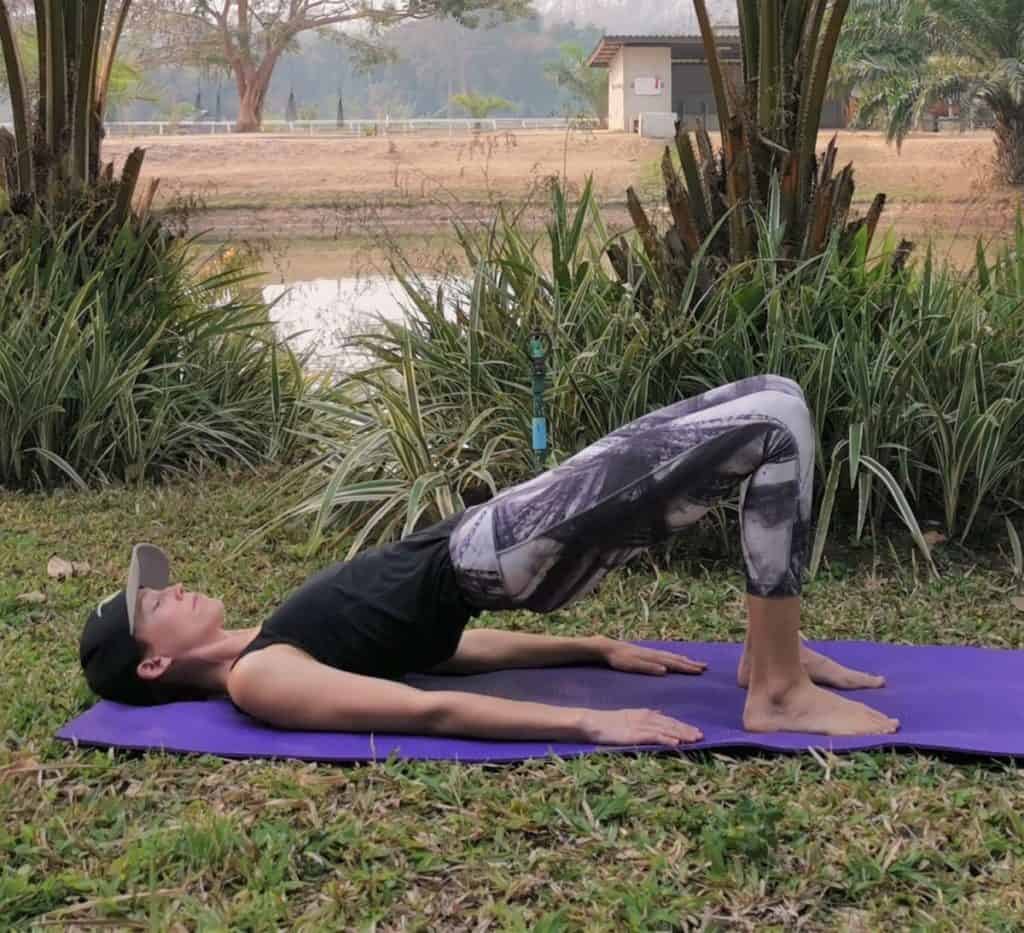
Lift the hips off the ground until shoulders, hips, and knees form a straight line. Squeeze your glutes as hard as you can and keep your core engaged by sucking in the bellybutton so you don’t overextend your back.
Hold the position for a few seconds before lowering your hips back down. Make sure all movements are slow and controlled. Breathe in as you lower your hips, and out as you bring them up.
When adding the opening and closing of the hips, make sure to keep the core engaged and the hips at the same height until you close your legs again. Lower down slowly.
If you opt for the one-legged version, make sure your hips stay always square with the ground.
Difficulty Levels
#1 – Glute bridges as described above (12 repetitions)
#2 – Glute bridges and opening and closing the knees before lowering the hips (10 repetitions)
#3 – One legged glute bridge (8 repetitions on each leg)
5. Mountain Climbers
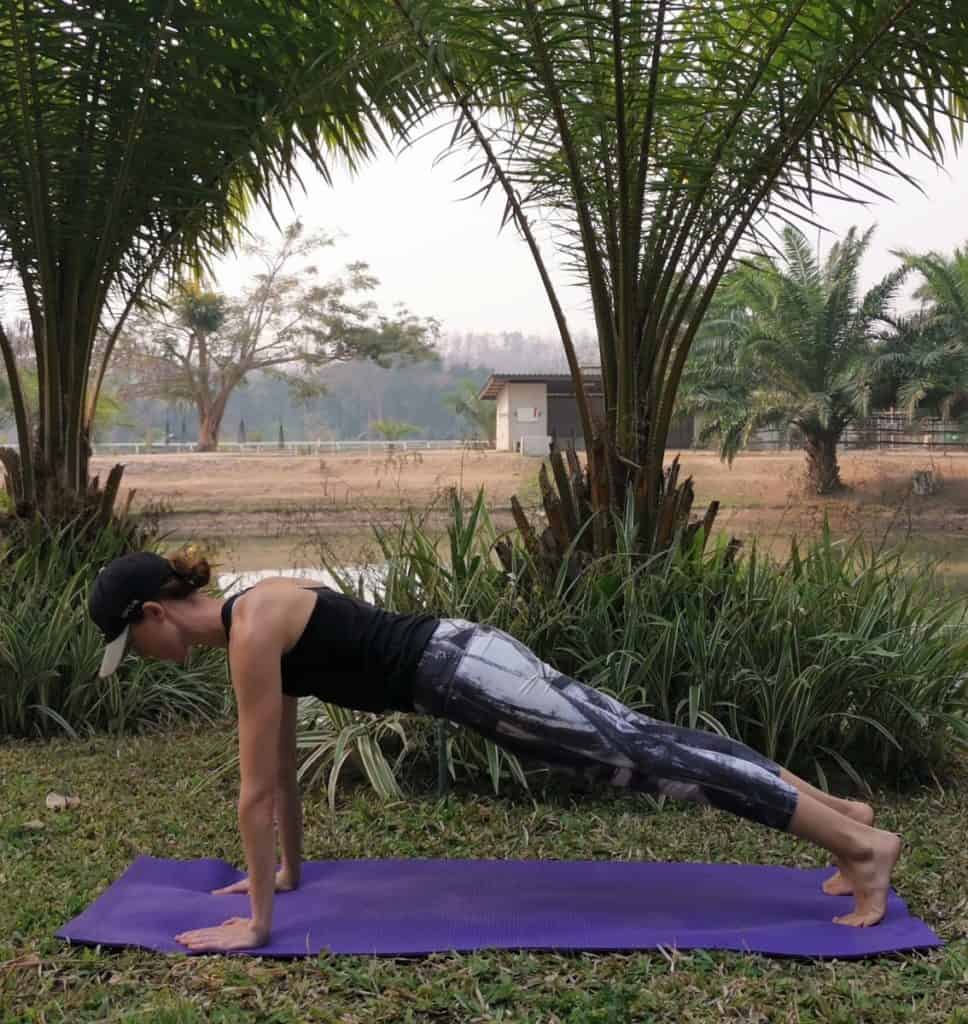
Base position
Start in a plank position with the shoulders directly over your hands pulling them away from your ears. Keep your body in a straight line, your core engaged by sucking in your belly button and squeezing your glutes.
The Exercise
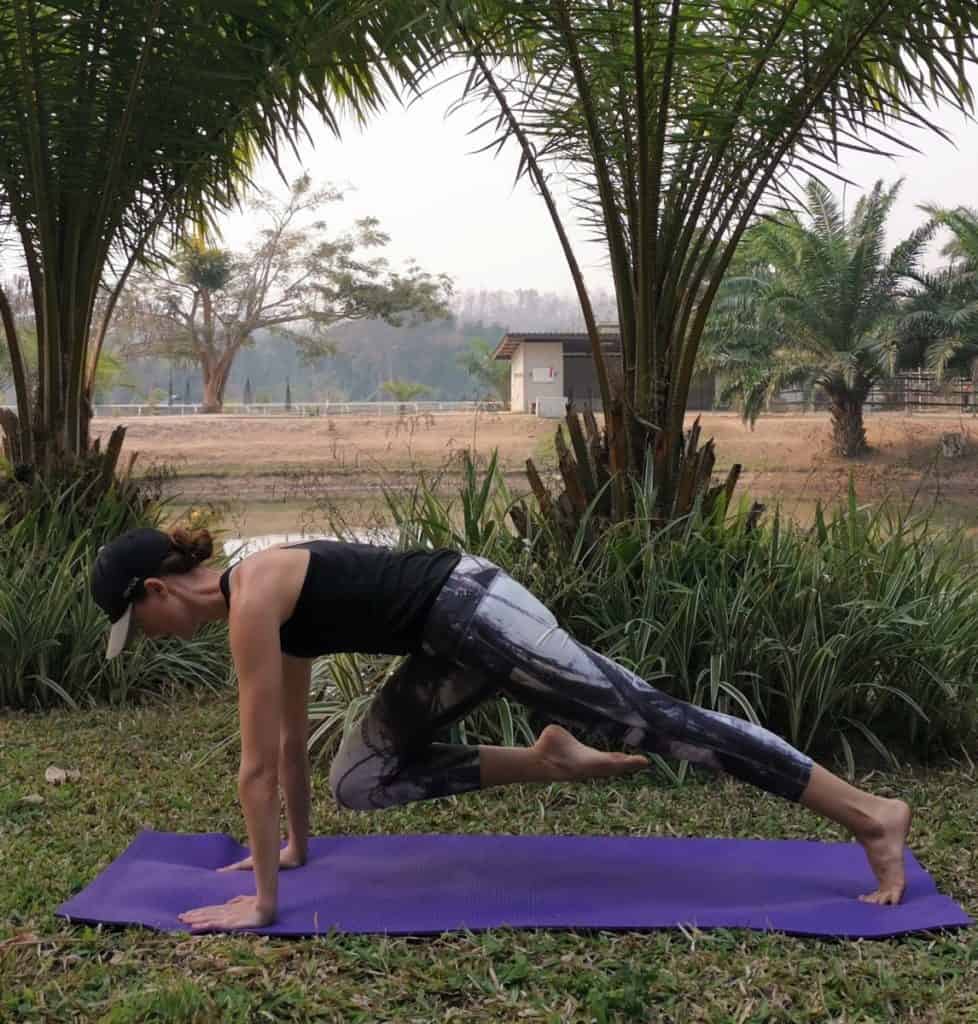
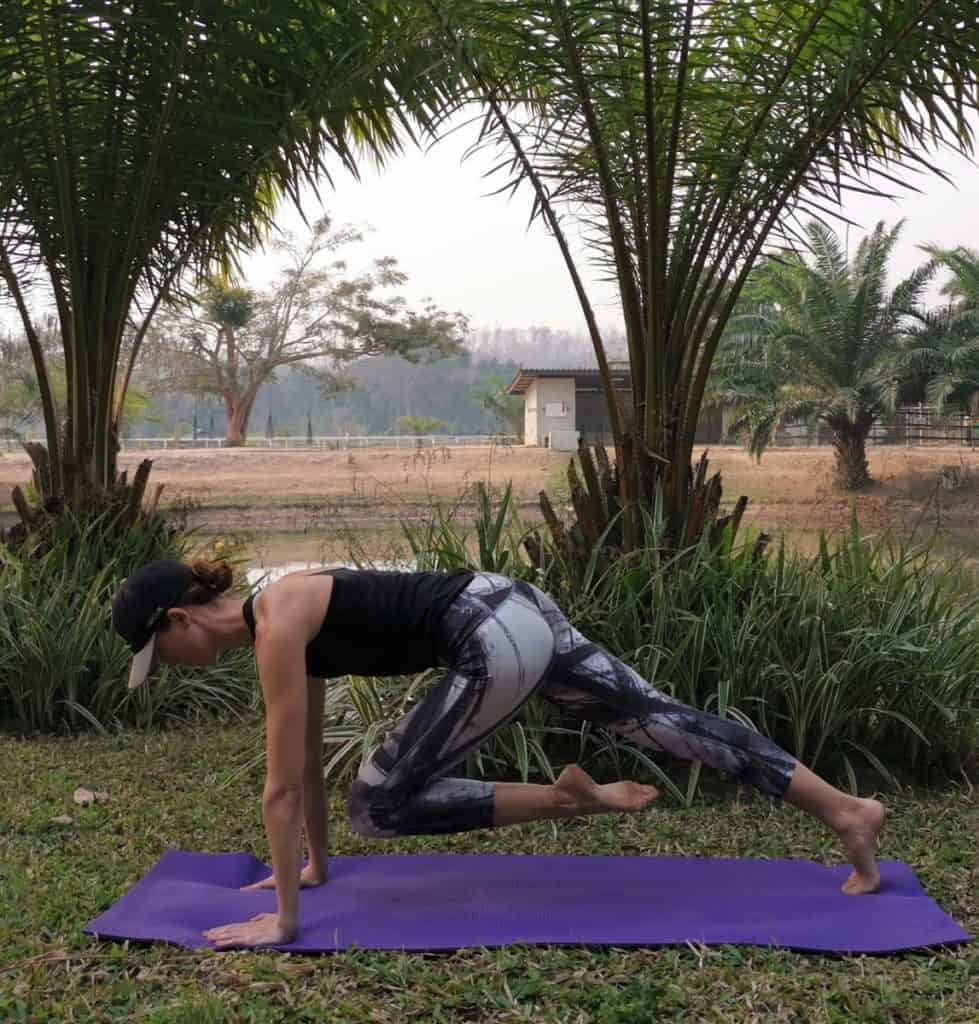
Pull your right knee towards your chest as far as you can without breaking the plank position, which requires you to always keep your back straight and your core engaged. Put your right leg back and quickly switch to pull the left knee in.
If you want more of a challenge, push your leg back at the same time as you pull your other knee in towards the chest, creating a jogging movement. Make sure to always be aware of your body position and maintaining a straight spine.
Difficulty Levels
#1 – Mountain climbers as described above moving one leg at a time (24 repetitions, 12 for each leg)
#2 – Mountain climbers as described above moving both legs simultaneously (30 repetitions, 15 for each leg)
#3 – Mountain climbers as described above moving both legs simultaneously as fast as you can (40 repetitions, 20 for each leg)
6. Side Plank with Leg Lift
Base position
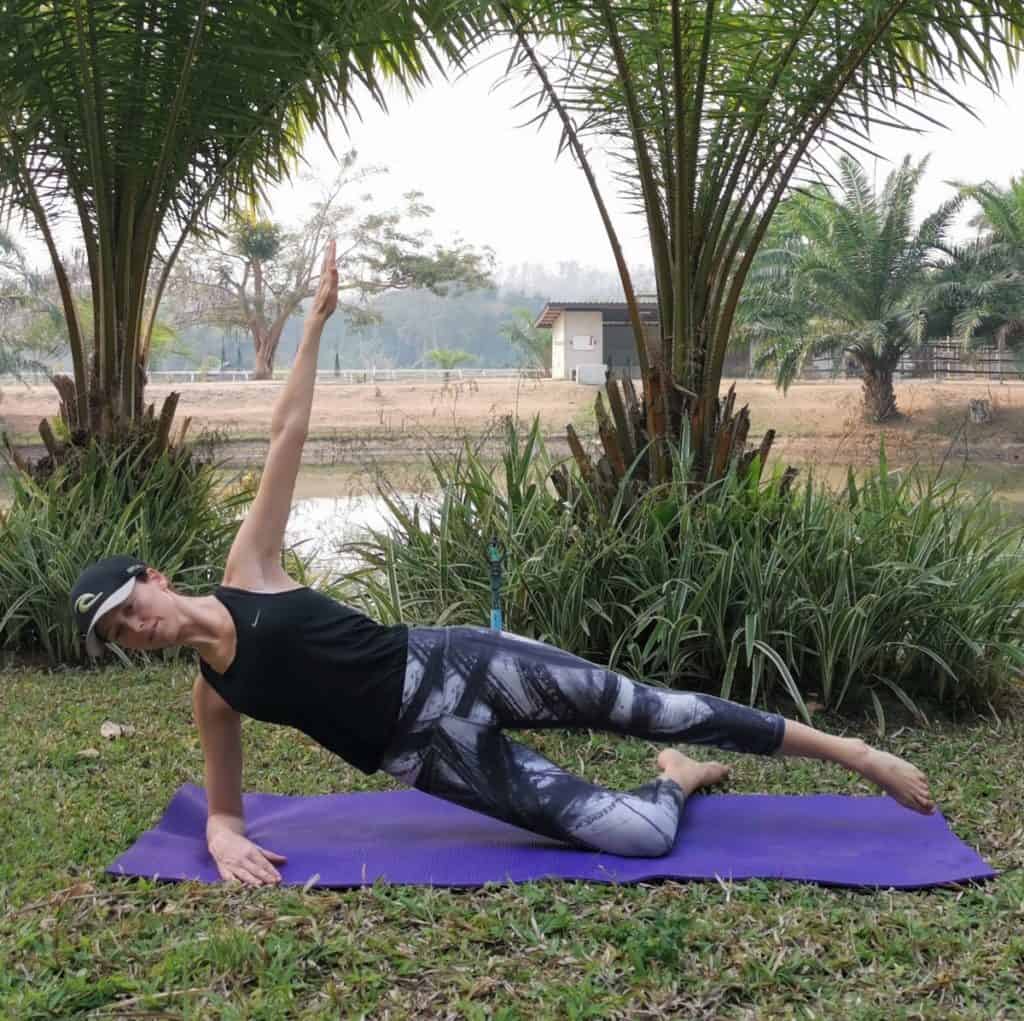
Lie on your side and place your weight on your bottom elbow and the side of your bottom foot. Keep the top foot resting on the bottom foot. Lift your hips until your body forms a straight line from the ankles to the shoulders and engage your core and legs to remain stable in this position.
The Exercise
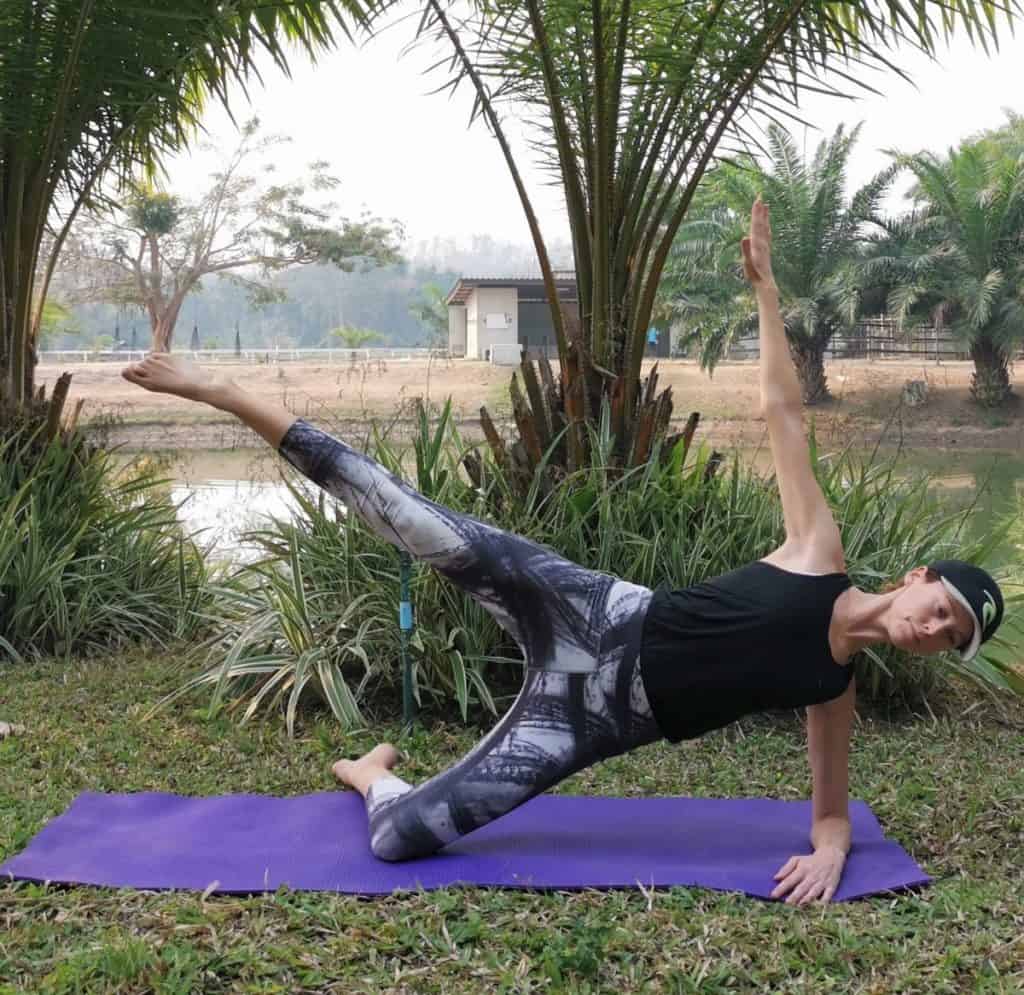
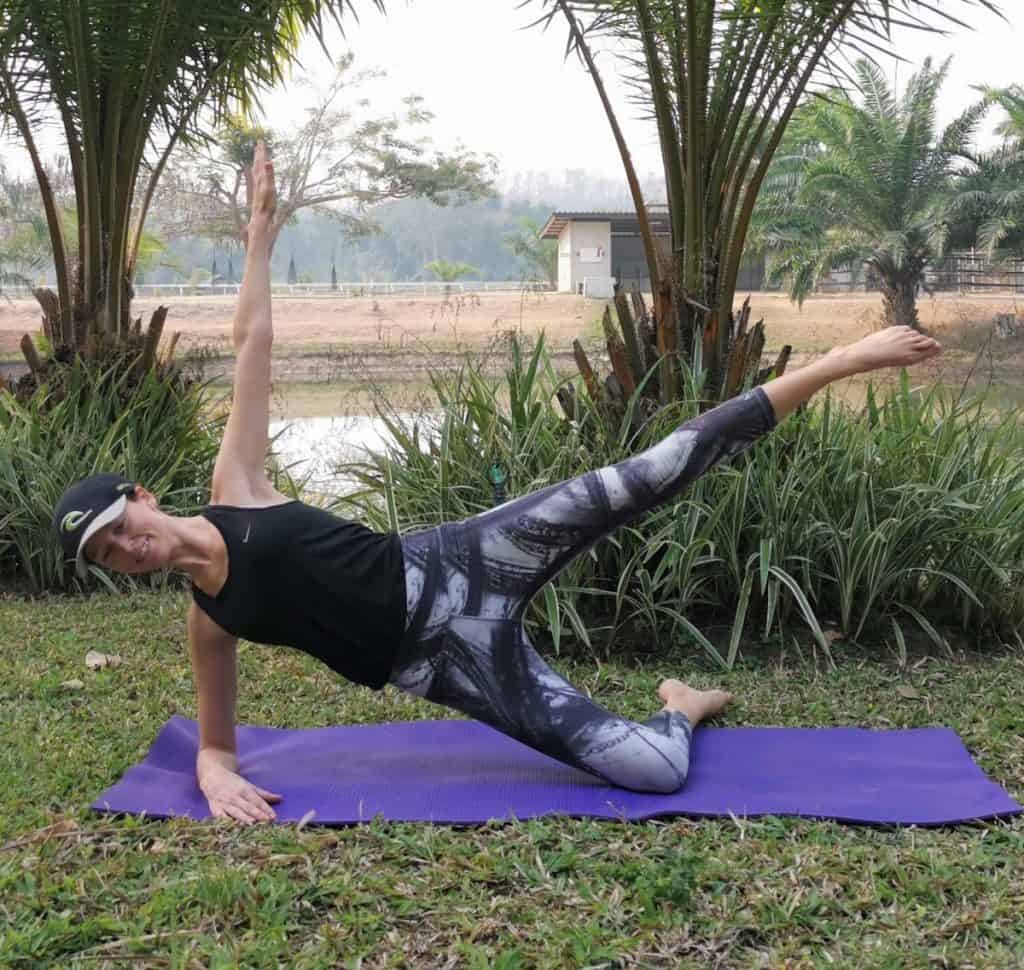
While maintaining a stable torso position, lift your top leg without bending at the knee. Make sure your hips don’t drop and keep the leg up for a short moment. Then return to the base position. Once you have completed the number of repetitions, switch sides and repeat.
Difficulty Levels
#1 – Side plank with leg lift, but bottom knee rests on the floor (16 repetitions, 8 for each leg)
#2 – Side plank with leg lift as described above but with only the bottom foot and elbow touching the ground (14 repetitions, 7 for each leg)
#3 – Side plank with leg lift as described above with 2 pulses in each repetition (14 repetitions, 7 for each leg)
Keep with it and enjoy the process! We hope this helps you on your journey to becoming an even better rider. Make sure to grab this FREE workout program if you are looking to improve your rider position.
You Might Also Like..
This article is accurate and true to the best of the author’s knowledge. It is not meant to substitute diagnosis, prognosis, treatment or any type of medical advice for humans or horses. Animals exhibiting signs and symptoms of distress should be seen by a veterinarian immediately.
Behind Horse Learner are two passionate horse enthusiasts. One horse owner and competitive dressage rider and one horse riding adventure traveler. Between then they have more than 40 years of experience with horses and horses and horse riding.