We love bodyweight workouts for their convenience and versatility, but we love resistance band training even more because it means bringing a short workout to the next level. Adding that little bit of extra resistance goes such a long way in boosting results so the efforts pay off dividends. And the equipment is pretty minimal and portable even if you’re on the go.
Another great benefit of resistance bands is that they automatically force you to stabilize your body and focus on balance, which is key for all horse riders to attain that stable seat and correct riding posture.
Psst! We also have resistance band workouts for CORE and LOWER BODY.
Why Upper Body Strength is Important for Horse Riding
Aside from the core, upper body strength isn’t usually what strikes us equestrians as most important in our fitness routine. And compared to leg strength, is may not be, but an absence of strength in the back, shoulder and arms will result in a slouched posture in the saddle, which not only looks bad, but also puts you and the horse at risk of injury.
What Upper Body Muscles Does Horse Riding Work?
Horse riding requires the interplay of a whole range of muscles in the body, but the primary upper body muscles involved in maintaining a correct seat and posture are located in the lower and middle back as well as the core muscles which include the abdominals and obliques which help support the lower back. The muscles between the shoulder blades also help maintain a neutral spine and the arms are continuously engaged when holding and using the reins.
If you are looking for a workout to strengthen your core, check out our Resistance Band Workout for Horse Riders: 6 Core Exercises
What You Need for the Workout
- Resistance bands. We use loop bands for this article, but you can use any type of resistance band you have.
- Yoga mat. Any yoga mat you have available will do. You can also use a rug or towel if you don’t have a mat.
Upper Body Exercises
To warm-up, stretch both arms straight out to the side so they are parallel to the floor. Start to make a small circle around your shoulder as quickly as you can. After 30 seconds, reverse and continue for another 30 seconds.
Run through the exercises below three times.
Exercise #1 – Sitting Arm Row
Targets: middle back and the muscles between the shoulder blades.
Repetitions: 15
Sit down on the mat with your legs stretched out in front of you. Place the resistance band under your feet and grab hold of the other end of the loop with both hands, hip-width apart. You can adjust the difficulty of the exercise by spreading your legs wider or hold the bands closer to your feet.
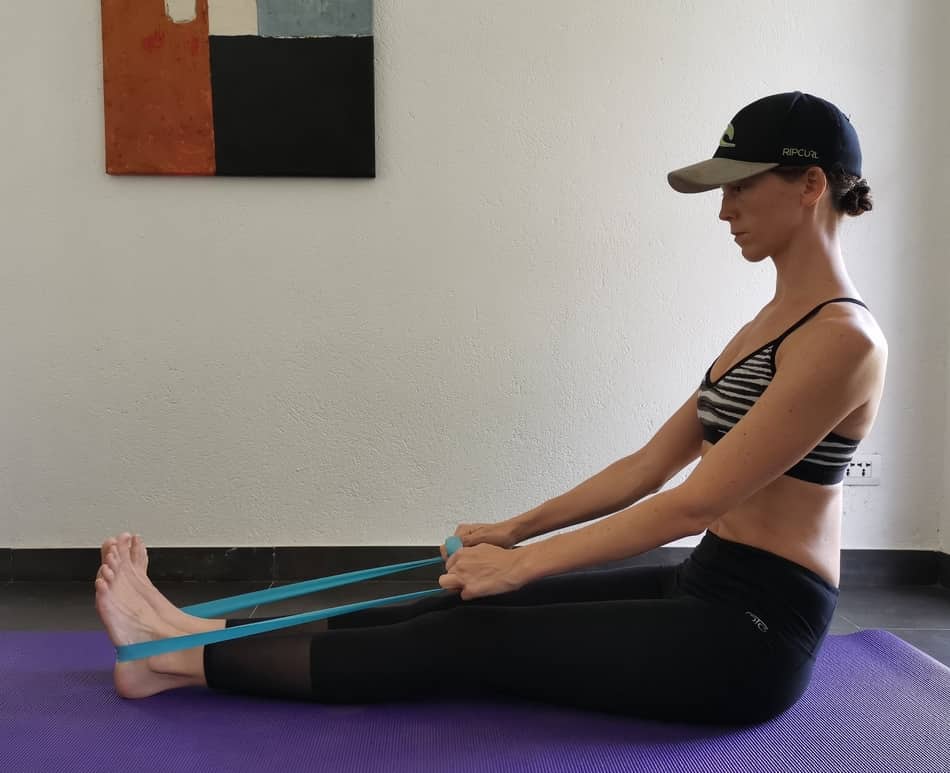
Starting position 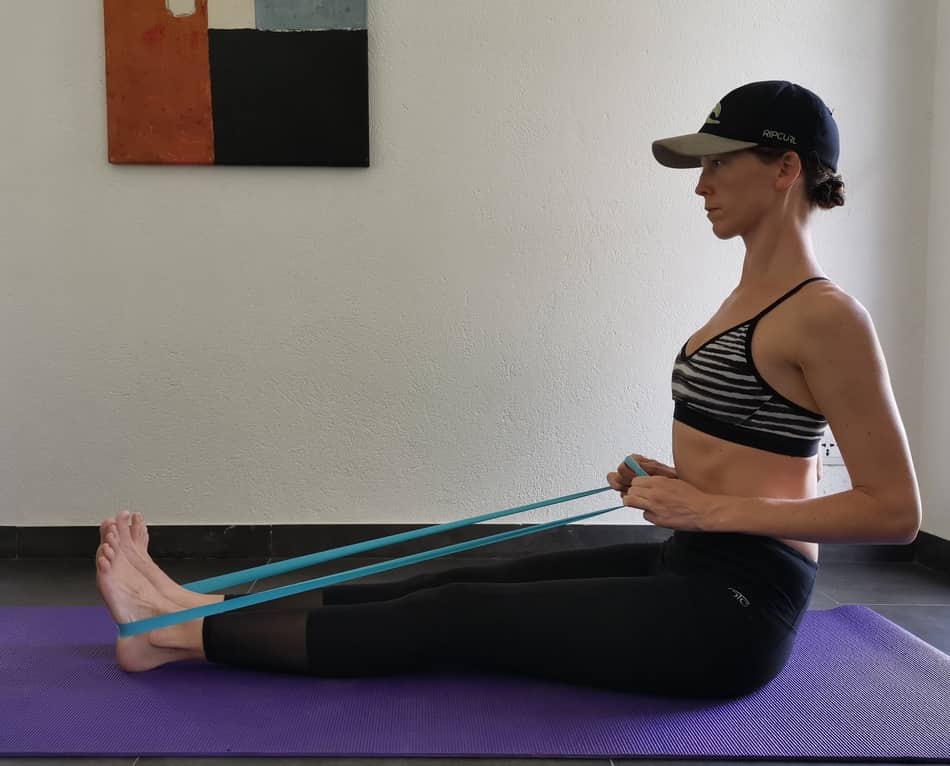
Keep the elbows close to the body
Keep your upper arms close to your body and pull your elbows backwards. If your technique is correct, they should be brushing against your sides as you move them back. Make sure to keep your upper body straight with a neutral spine, slightly engage your core and squeeze your shoulder blades together as you pull back. Hold for a second or two and release slowly and with control.
Exercise #2 – Lat Pulldown
Targets: middle back and helper muscles such as biceps and forearms.
Repetitions: 12
Place the resistance band around the middle of your forearms and lift both arms straight up over your head, shoulder-width apart and palms facing forward. Keep a slight tension in the band. Make sure not to arch your back by engaging your core and ensuring a neutral spine.
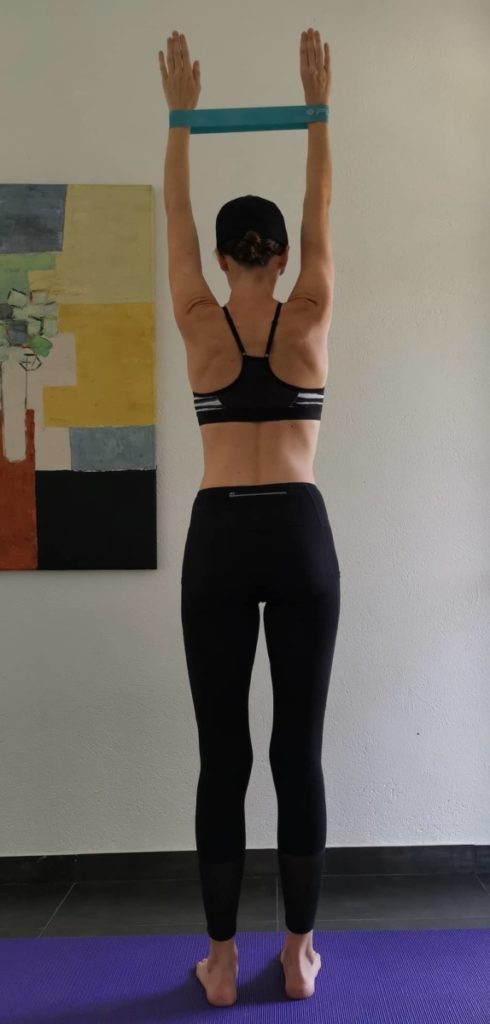
Starting position 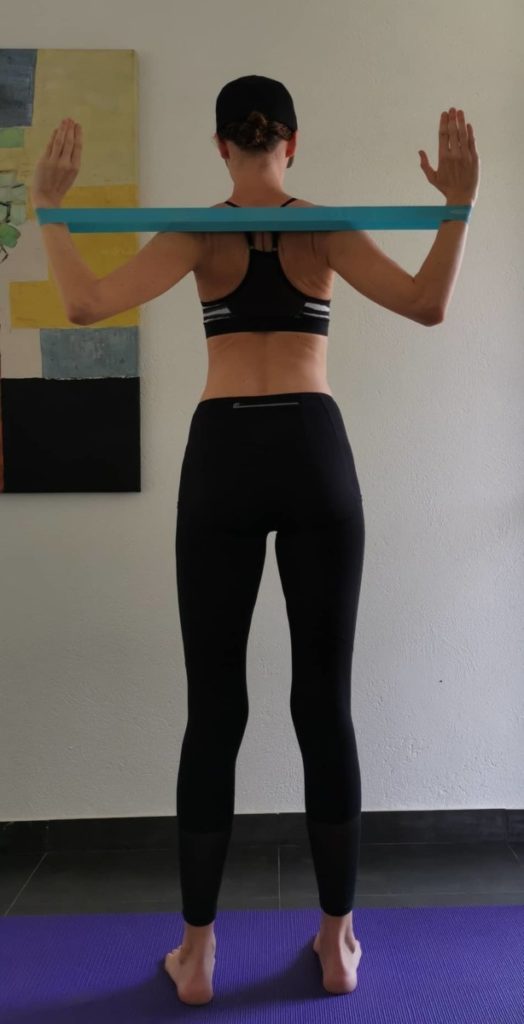
Squeeze the shoulder blades together
In a controlled motion, bring your elbows down towards the ground to form a W-shape and let the resistance band pass behind your head. Squeeze the shoulder blades together as you pull down, pause at the bottom and move slowly back to the starting position.
Exercise #3 – Plank Walk to Alternating Sides
Targets: arms, shoulders, core and lower back.
Repetitions: 8 to each side
Get into a plank position on your hands and toes (if you struggle to do this, you can stand on your knees) with your hands shoulder-width apart and feet hip-width apart. Keep your core engaged and your legs and glutes contracted to maintain the correct position and a neutral spine. Place the elastic band around your wrists with light tension.
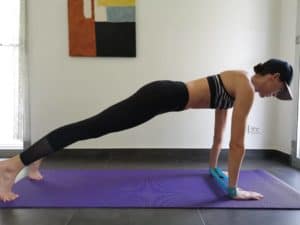
Starting position on the toes 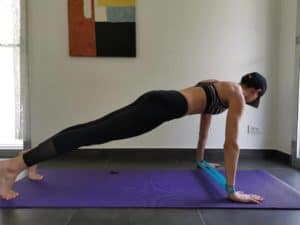
Maintain stable torso and core
While keeping your body straight, take two ‘steps’ on your hands over to the right, stretching the band. Then repeat to the left.
Exercise #4 – Triceps Pushdowns
Targets: Triceps, deltoids and forearms.
Repetitions: 10 on each side
Stand straight with your feet hip-width apart. Place the band in your left hand and place it on your right shoulder as an anchor for the exercise.
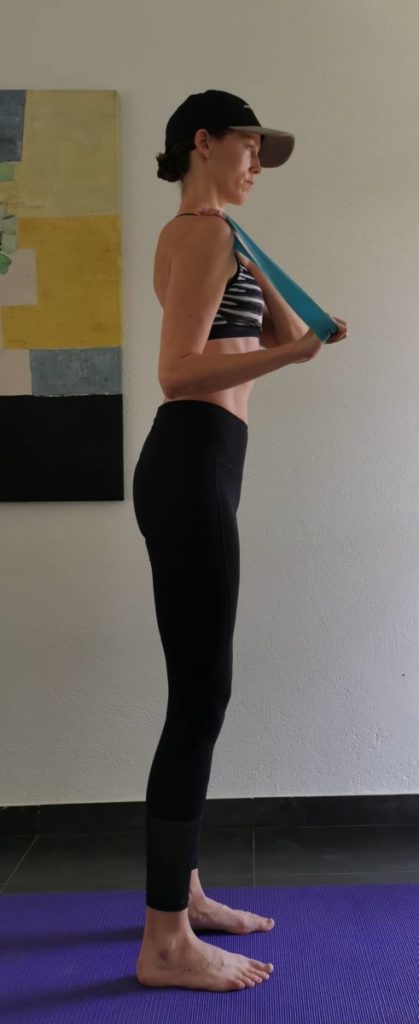
Starting position 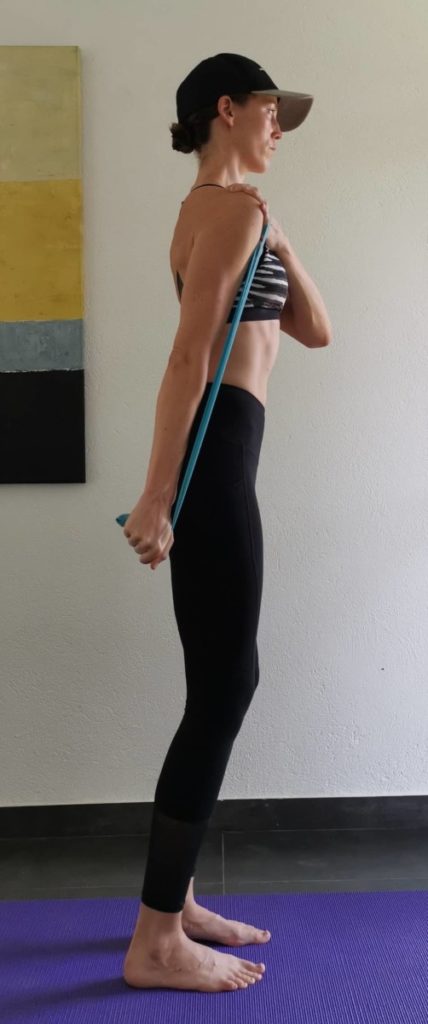
Focus on the triceps as you pull down
Grab the bottom of the band with your right hand (or further up for more resistance). While keeping your elbow close to the body, press your forearm down, palms facing downwards. Hold for a second at the bottom and release with control.
Exercise #5 – Bicep Curls
Targets: Biceps, deltoids, and forearms.
Repetitions: 10 on each side
From a kneeling position on the mat, put your right leg in front of you with a 90-degree angle in the knee. Place the band under the front foot, grab the other end in your right hand and place your elbow on your right knee.
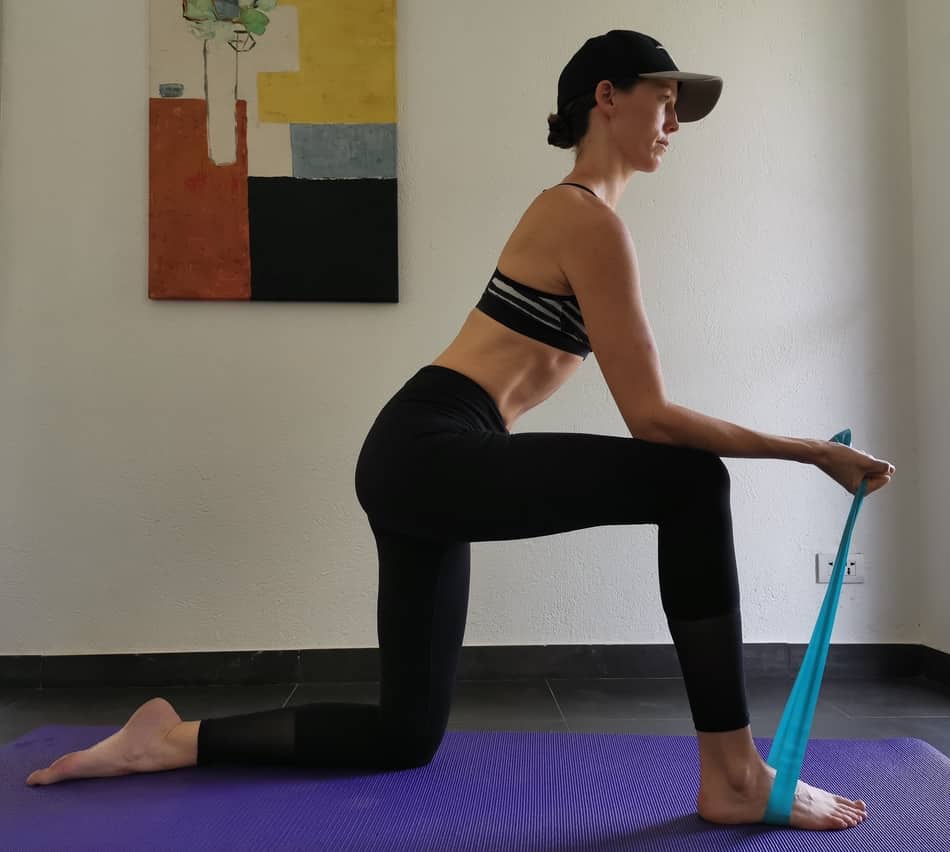
Starting position 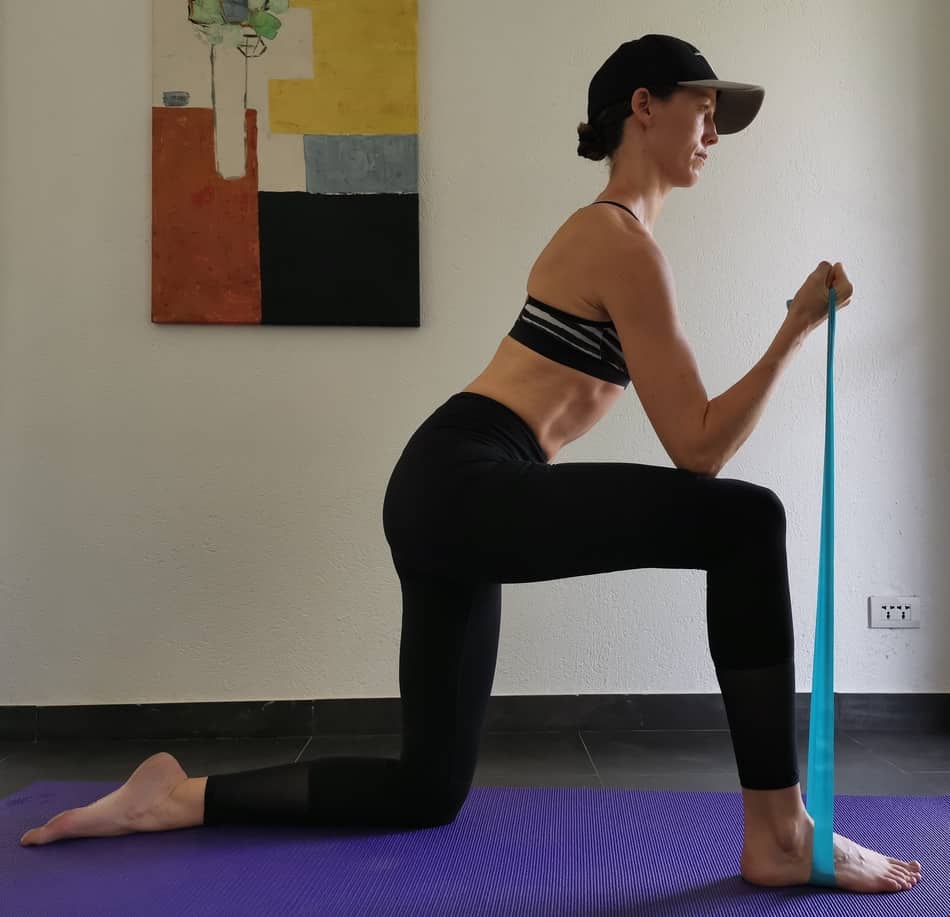
Keep upper arm and torso still
Keep your upper arm and torso stationary while you curl your forearm up towards your right shoulder, palm facing up. Start pulling your hand
Exercise #6 – Diagonal and Lateral Band Openings
Targets: upper and middle back, shoulders and arms.
Repetitions: 5 in each of the 3 directions
Stand straight with your feet hip-width apart. Grab the band in each end and stretch your arms out in front of you.
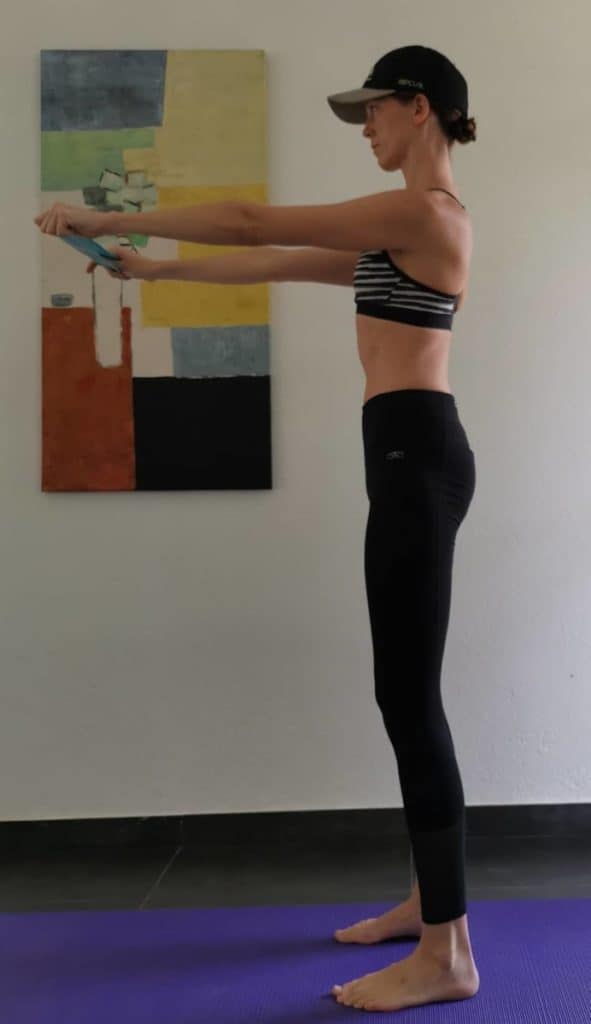
Starting position 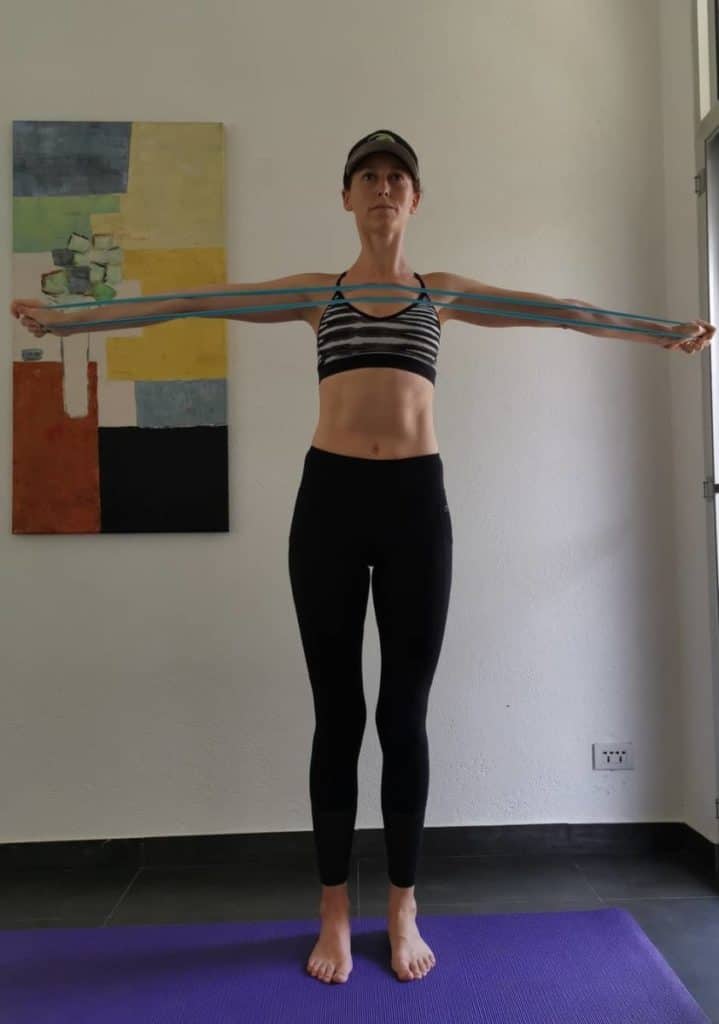
Lateral opening 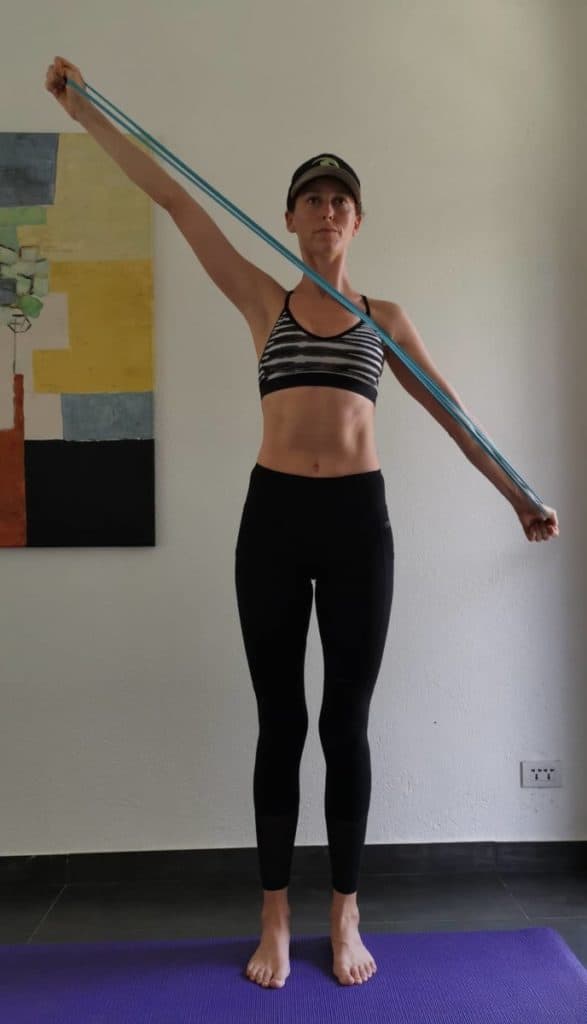
Diagonal opening
Start by pulling the band in opposite directions diagonally and keep your arms as straight as possible (without overextending). Engage your core and stabilize the torso throughout the movement. Come slowly back to the starting position and change diagonals. After the two diagonals, do the movement laterally. Repeat the series five times.
Feel the burn? Us too! If you enjoyed check out our other resistance band workouts!
This article is accurate and true to the best of the author’s knowledge. It is not meant to substitute diagnosis, prognosis, treatment or any type of professional medical or fitness advice. Use common sense when exercising and consult your physician before starting any new training program.
Behind Horse Learner are two passionate horse enthusiasts. One horse owner and competitive dressage rider and one horse riding adventure traveler. Between then they have more than 40 years of experience with horses and horses and horse riding.